SALTLINE WIKI / PLAYER GUIDE
Saltline mission guide
We cut Relay A in the yard and Relay C at the quay in the revised original, then lost the run at 2/3. This illustrated guide explains those verified interactions and what still remains: the shed relay and boat extraction. It is a field record, not a completed speedrun route.
Source check · 12 Nov 2026 · Current revised artifact
- 01
Start in Mission mode
Open the original game and select Mission on the title screen. The revised build also shows Holdout and Standard, Hard and Brutal difficulty buttons. This page concerns the Mission briefing only. Check your selection before choosing Deploy; the name of a difficulty is not a tested recommendation.
- 02
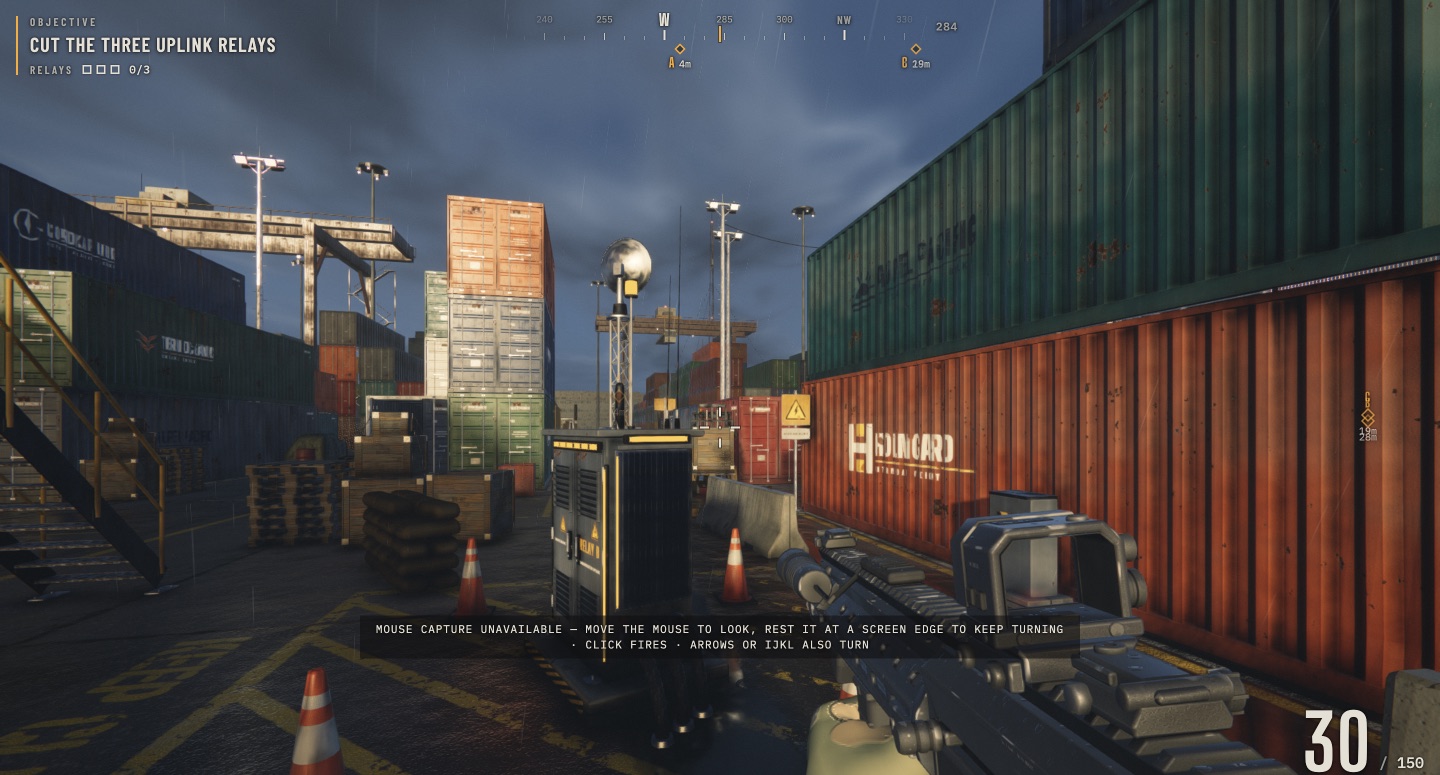
Read the relay HUD
At the start of our mission, the objective read “CUT THE THREE UPLINK RELAYS” and the counter showed 0/3. A, B and C markers with distances appeared around the compass. Use the live labels to orient yourself. We do not turn one starting distance into a fixed position or prescribe an untested order.
- 03
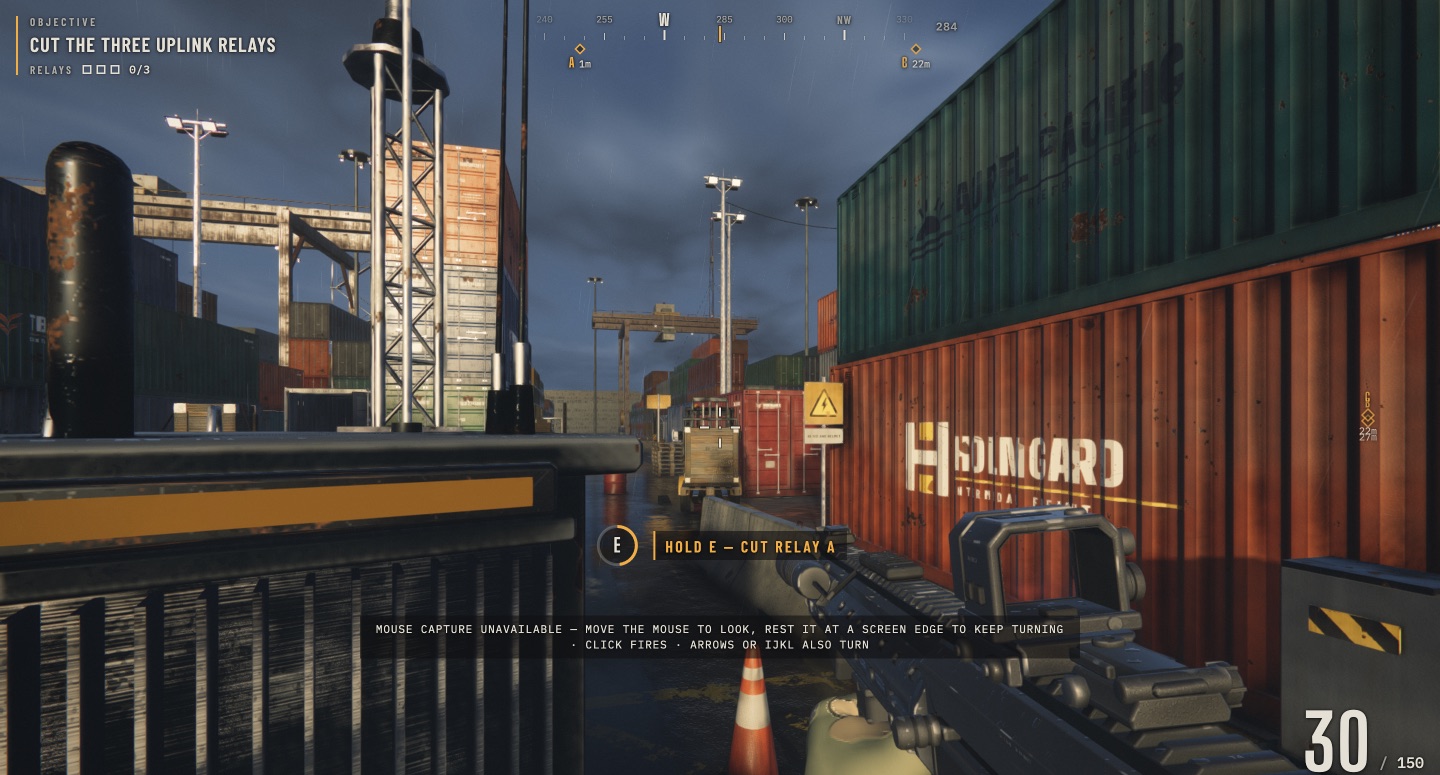
Hold the relay interaction
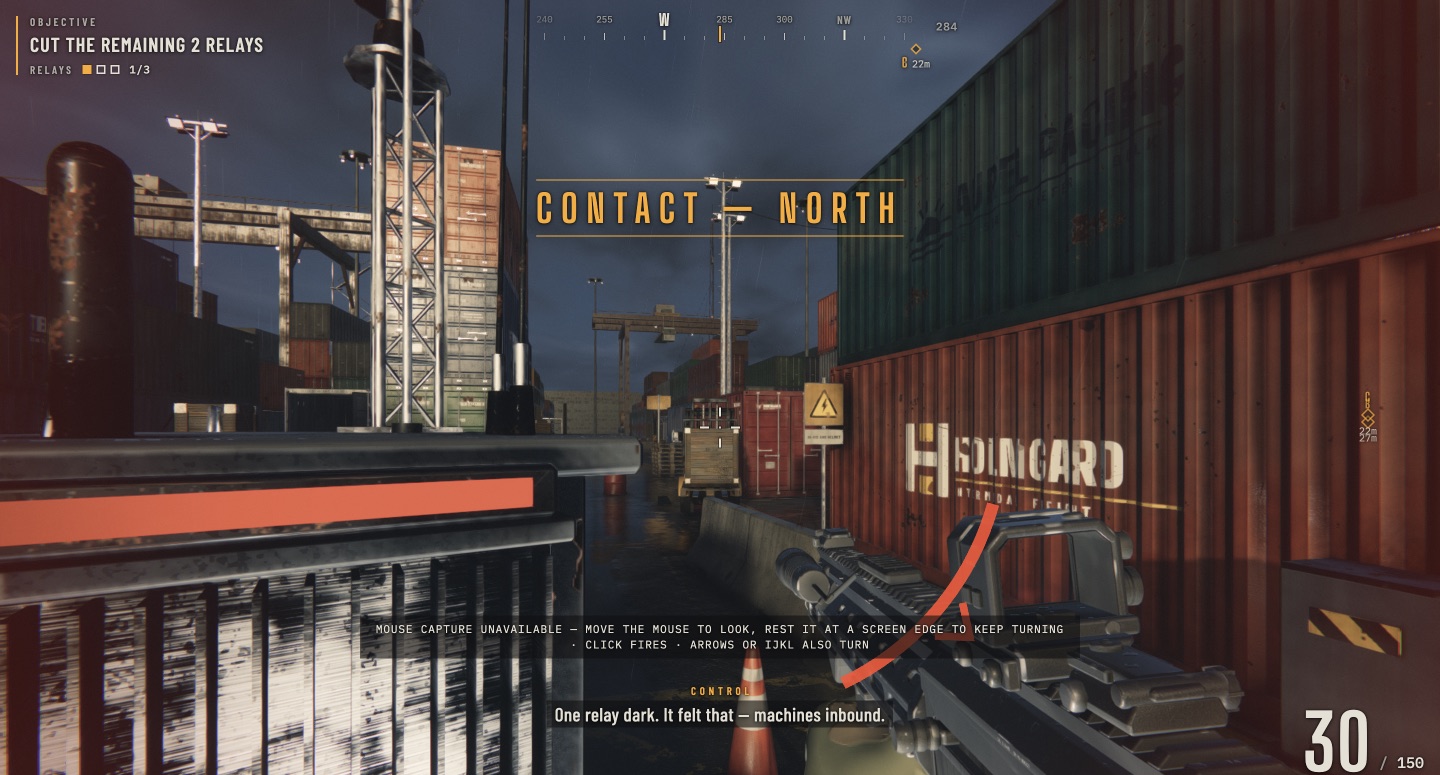
Approach the illuminated relay terminal and face it. The circular E prompt becomes visible when the interaction is available. Hold E until it completes: our A cut turned the terminal’s light red, advanced the counter to 1/3 and changed the objective to the remaining two relays. Tapping E or holding it while still out of reach did not complete the cut in our attempt.
- 04
After three relays, reach the boat
Reaching the boat is the second part of the title-screen brief. Cutting relays alone is not the whole stated objective. Follow the objective shown by your running build after all three are disabled. We have not verified the final boarding trigger or an extraction screenshot.
A real relay interaction, step by step
These consecutive states are from our attempt, not recreated UI. The second relay cut at the quay brought the counter to 2/3; the run ended before extraction.
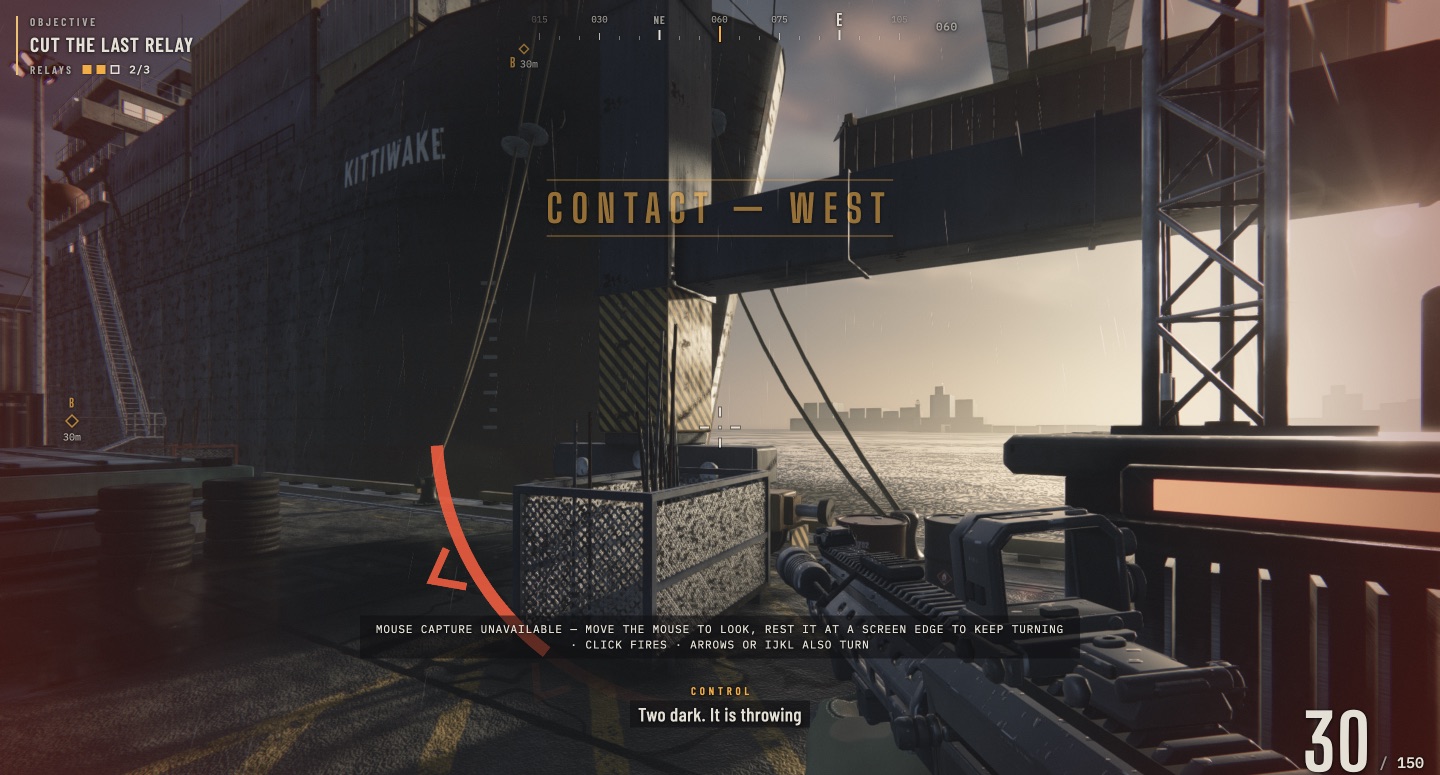
Our capture: moving from yard to quay
A short continuous browser recording from the same Mission attempt. The counter is already 1/3 as we approach C. It shows the live port and weapon movement; it is not a complete walkthrough.
6.9-second capture · no audio recorded · original game by Felix Rieseberg
Before your next attempt
Know your pause and reload keys before deploying. If view control is difficult, try the in-game alternatives before committing to a route. Keep Mission’s relay-and-boat task separate from Holdout, and check the current artifact rather than copying instructions from the first build or a fan modification.
What still needs a full playthrough
We have not completed Relay B in the shed or the final boat extraction. Exact optimal routes, enemy weaknesses and typical clear times remain unverified. Our A-to-C attempt is one documented route segment, not a recommendation that this is the best relay order.
Sources & creator credit
Gameplay facts here refer to the revised artifact linked above. Creator statements and player reports are identified separately.